Raspberry lemon meringue jellyroll cake is my go-to, feed a crowd dessert. It’s very easy to make, looks impressive and everyone loves it. This is a great cake for a spring or summer celebration.
While the meringue is baking, listen to this playlist from the lovely Jenn Grant and read my rant about BYOBC (bringing you own birthday cake) to a restaurant…
Raspberry Lemon Meringue Jellyroll Recipe
Raspberry Lemon Meringue Jellyroll Recipe
You Have Been Served: www.youhavebeenserved.ca
Ingredients
- Meringue
- 6 oz egg whites (from about 6 eggs)
- ¼ tsp cream of tartar
- 2 cups granulated sugar
- 1 tsp white vinegar
- Lemon Curd
- 3 eggs
- ¾ cup white sugar
- ½ cup lemon juice
- 2 tsp lemon zest
- ½ cup melted butter
- 2 pints fresh raspberries
Instructions
- whisk egg whites and cream of tartar on high speed in a stand mixer until stiff peaks form (photo 1)
- gradually add the sugar (over a couple of minutes) on medium speed
- add the vinegar and whisk on high speed until the meringue is stiff and glossy (like shaving cream) (photo 2 and 3)
- spread the meringue evenly on a parchment-lined baking sheet to about 12" x 16" x ½" (photo 4)
- bake on the middle rack of a preheated 250F oven for 30 minutes, turn, bake an additional ½ hour (it should be a very pale golden colour; don't overcook it or it won't roll
- remove and let cool about 30 minutes
- while the meringue is baking, make the lemon curd
- whisk by hand the whole eggs and the sugar in a microwave safe bowl
- add lemon juice, zest and butter, and whisk well
- microwave, uncovered 3 – 5 minutes, stirring every minute, until the mixture thickens
- cover the surface of the lemon curd with plastic wrap and chill until cool
- whip 2 cups 35% cream and 1 tsp vanilla until stiff peaks form
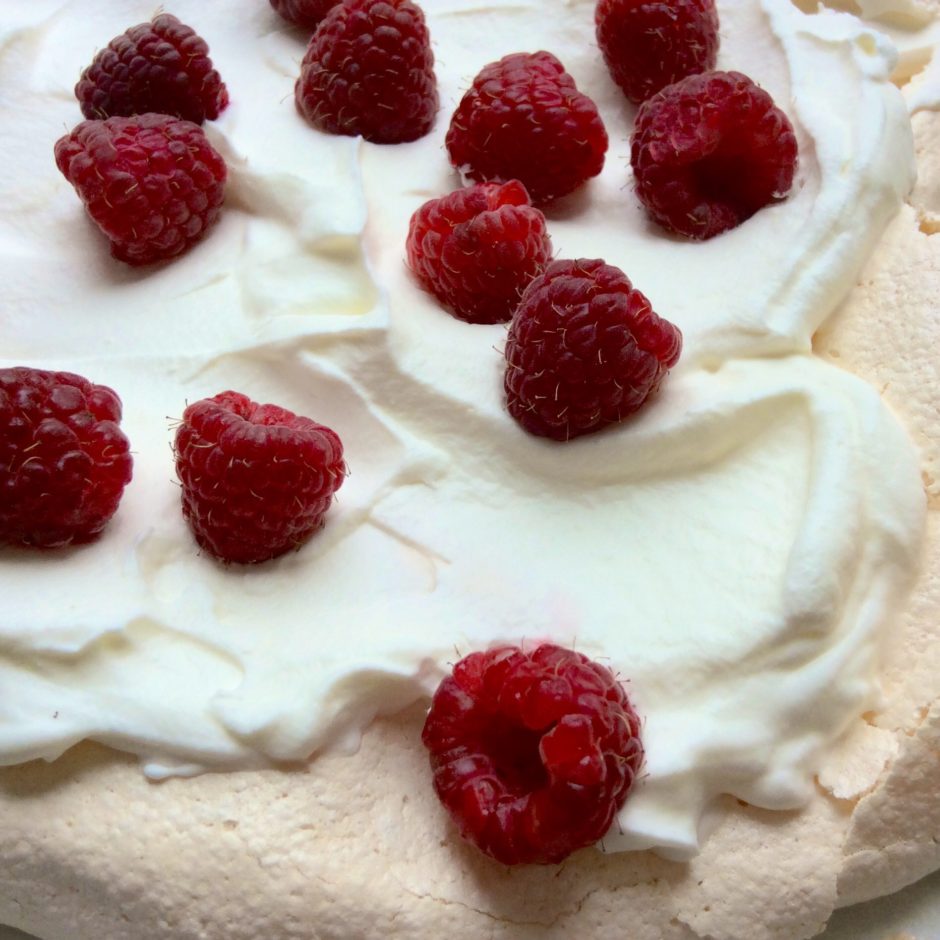
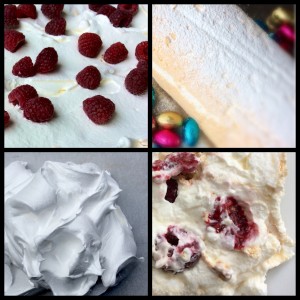
- combine cooled lemon curd and whipping cream, and spread over cooled meringue, leaving a ½” border all around (photo 5)
- dot with 2 pints of fresh raspberries (photo 6)
- using parchment, roll the long side of the meringue onto itself forming a jellyroll (the cake may crack, but that’s okay it still looks great) (photo 7)
- dust with sifted icing sugar (optional) (photo 8)
- let set about 1 hour then slice with hot sharp knife (photo 9)
- This cake should be eaten the day that you make it so make sure you have a crowd!
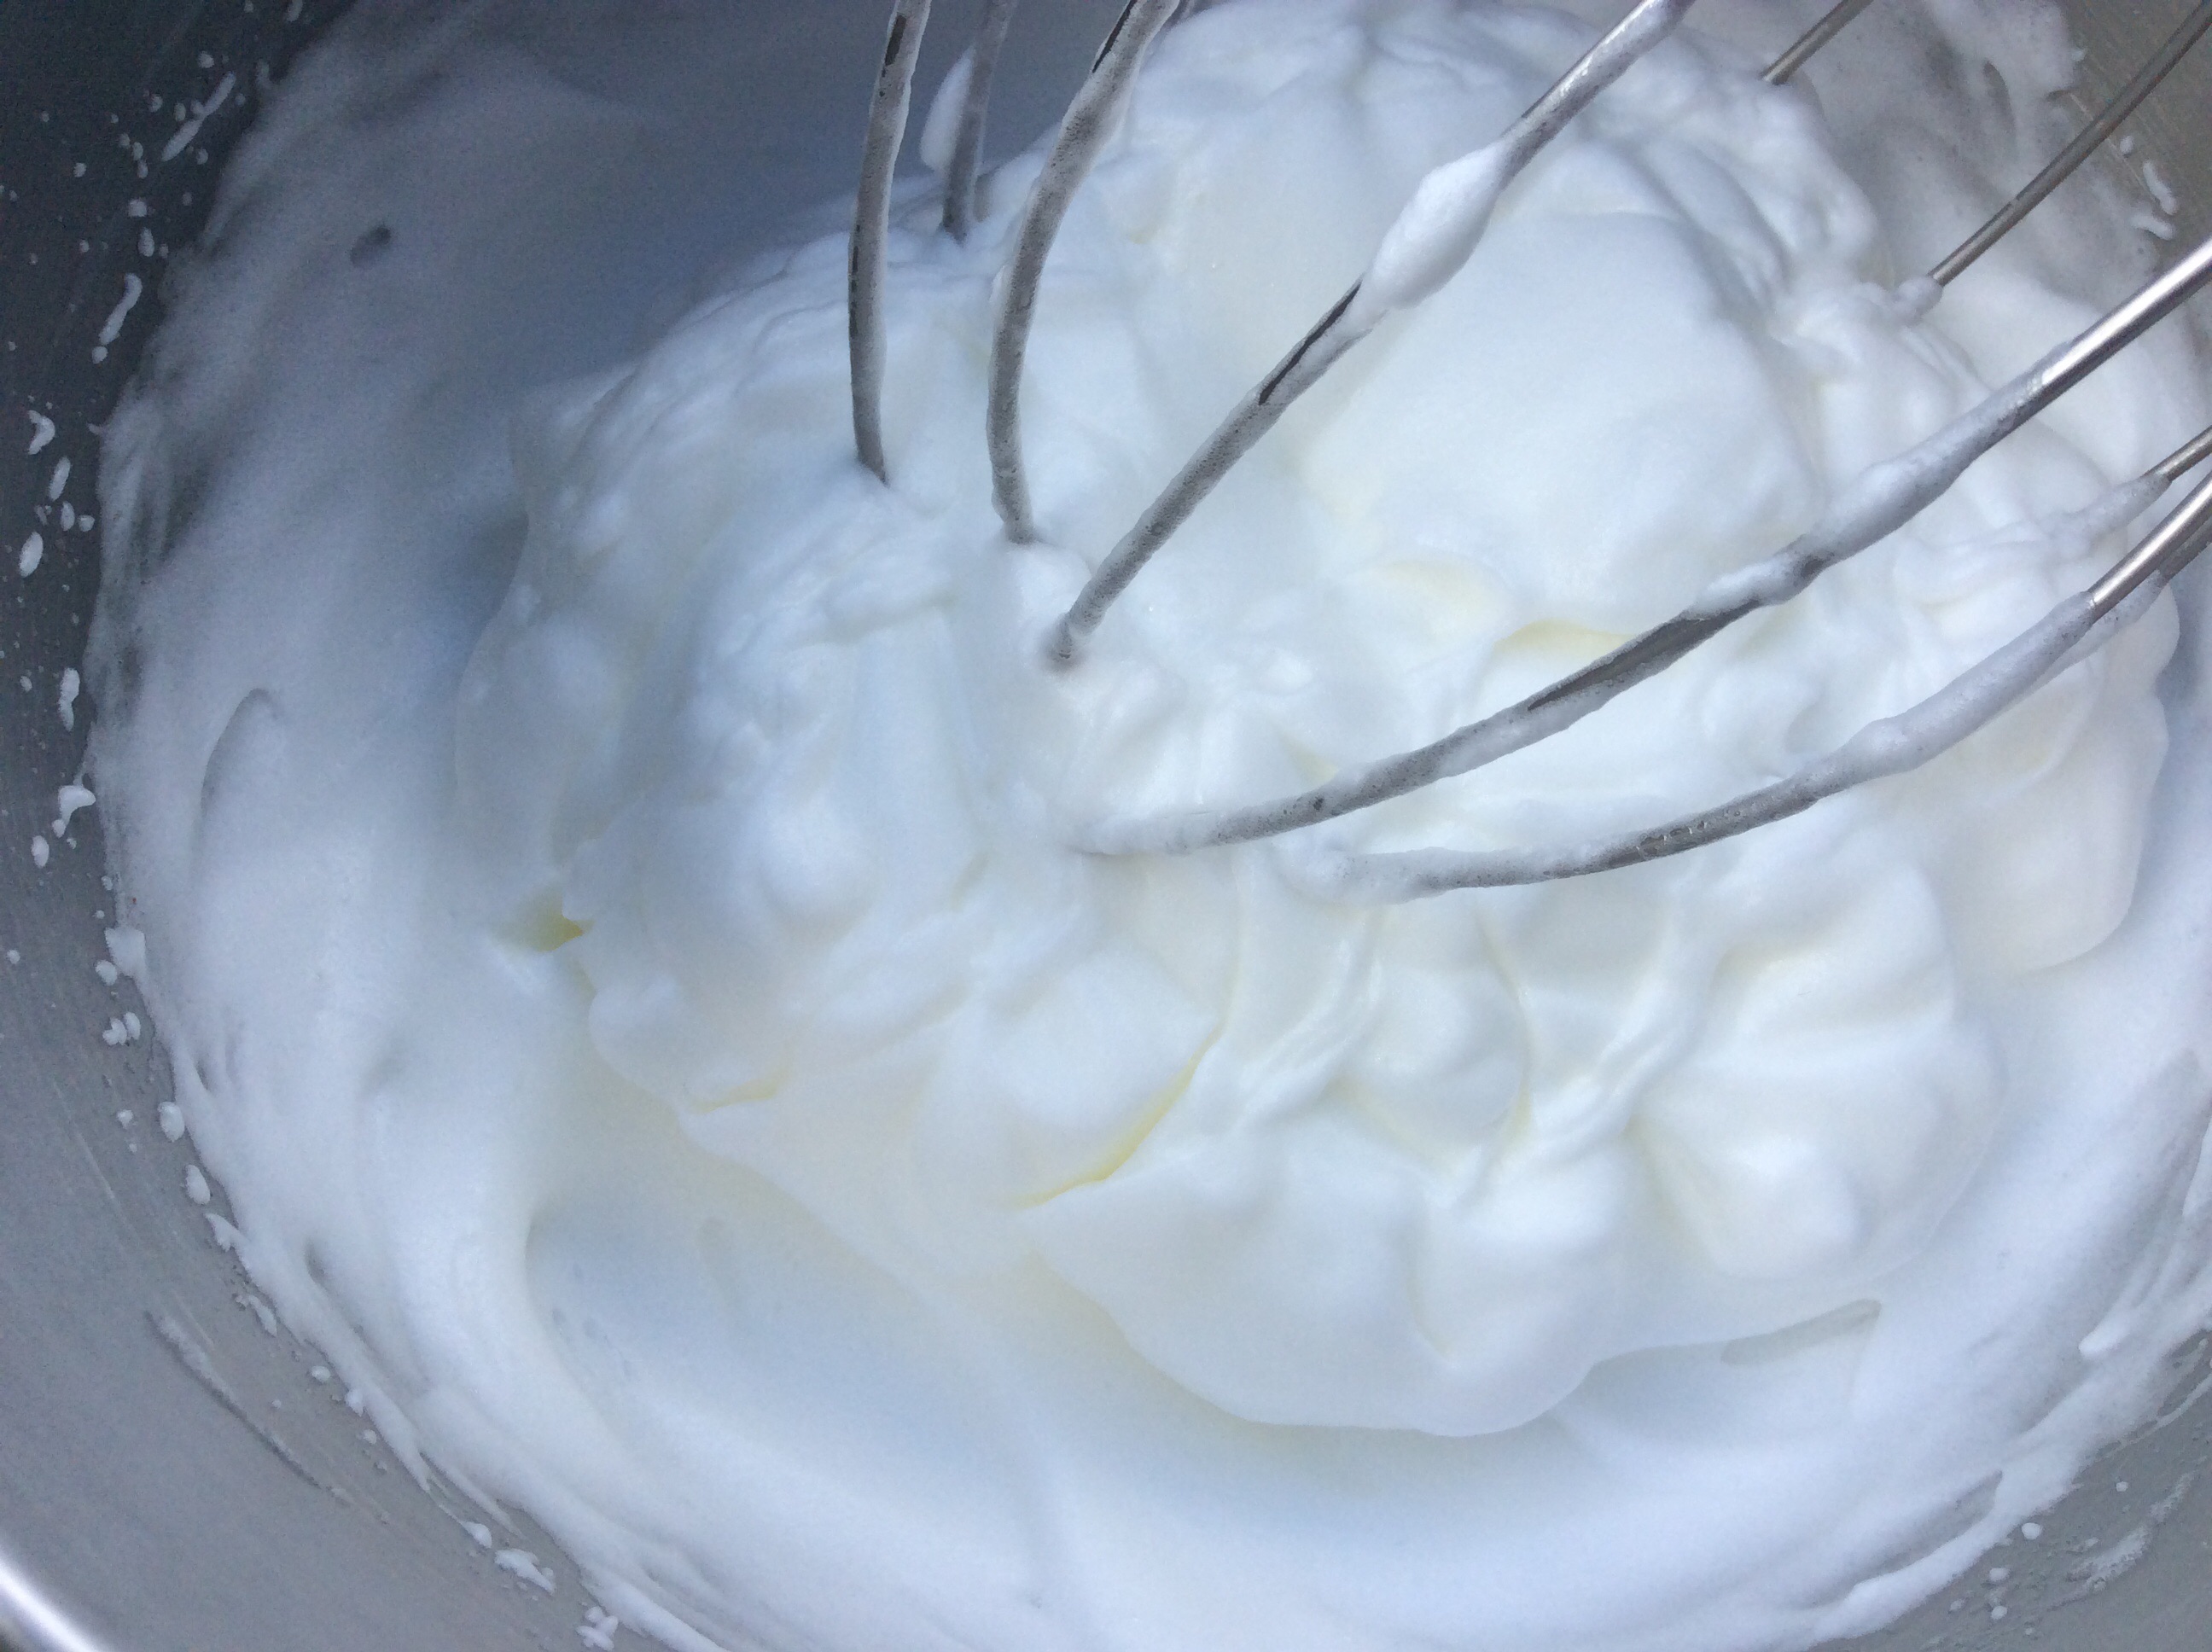
photo 1
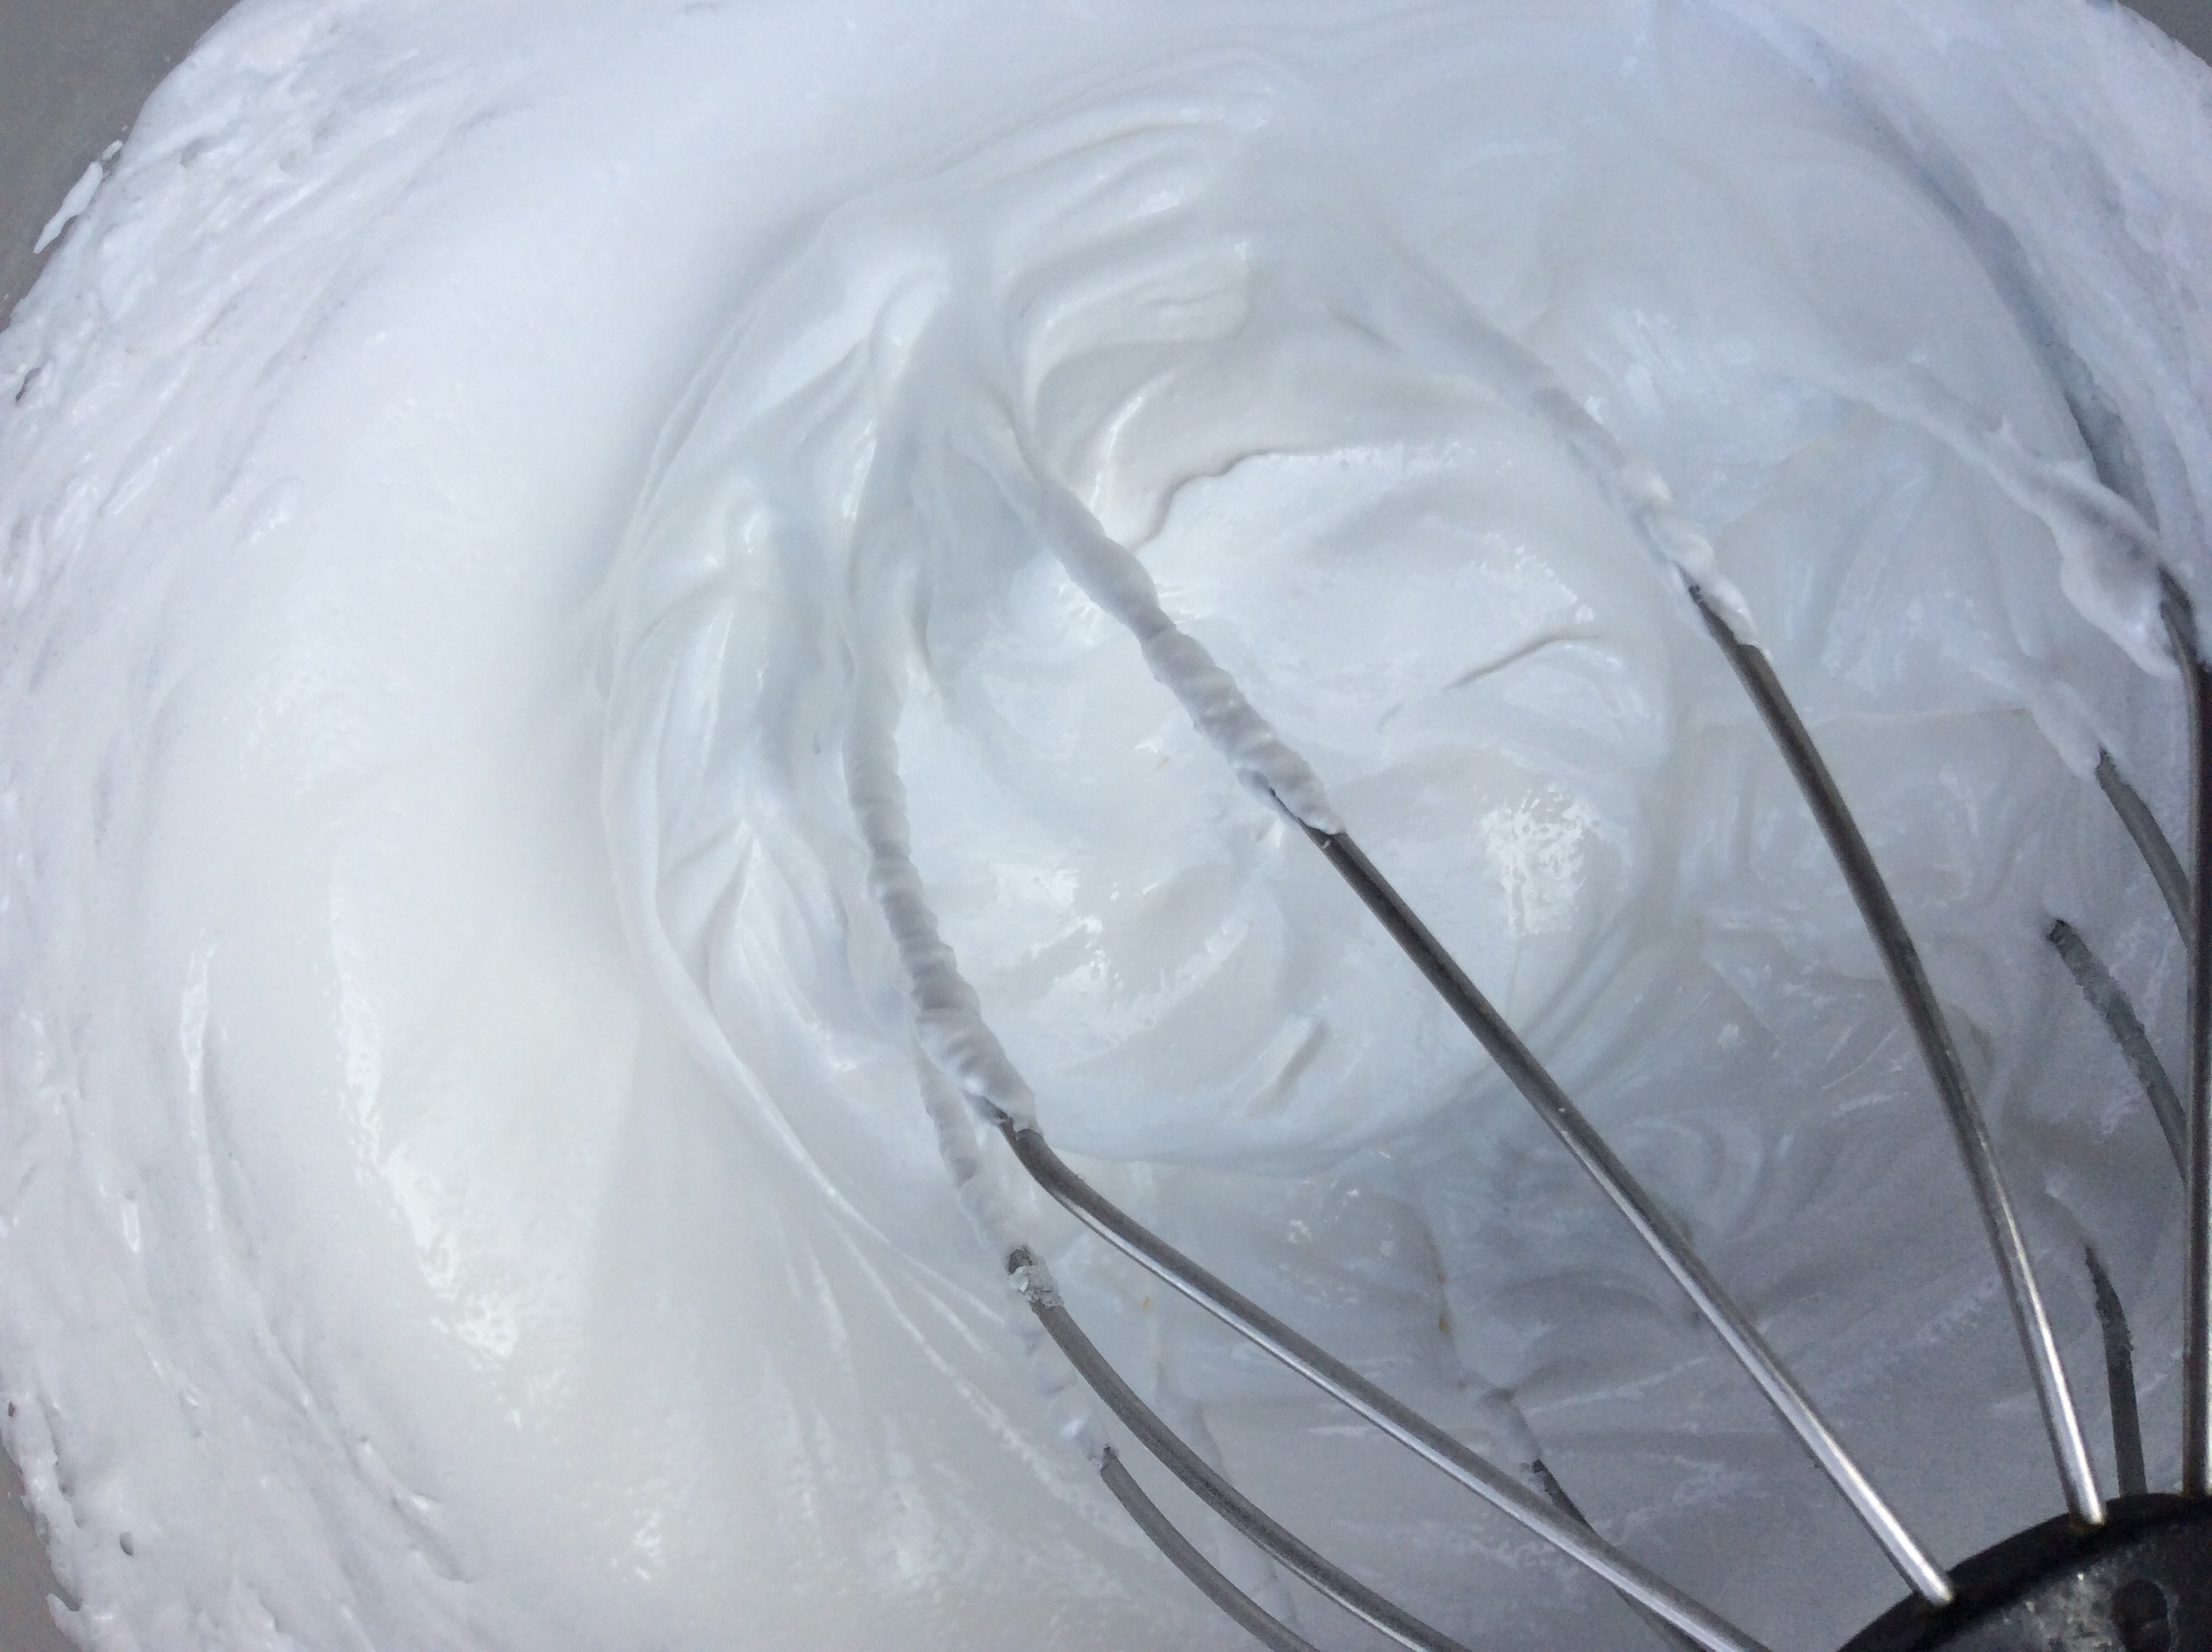
photo 2
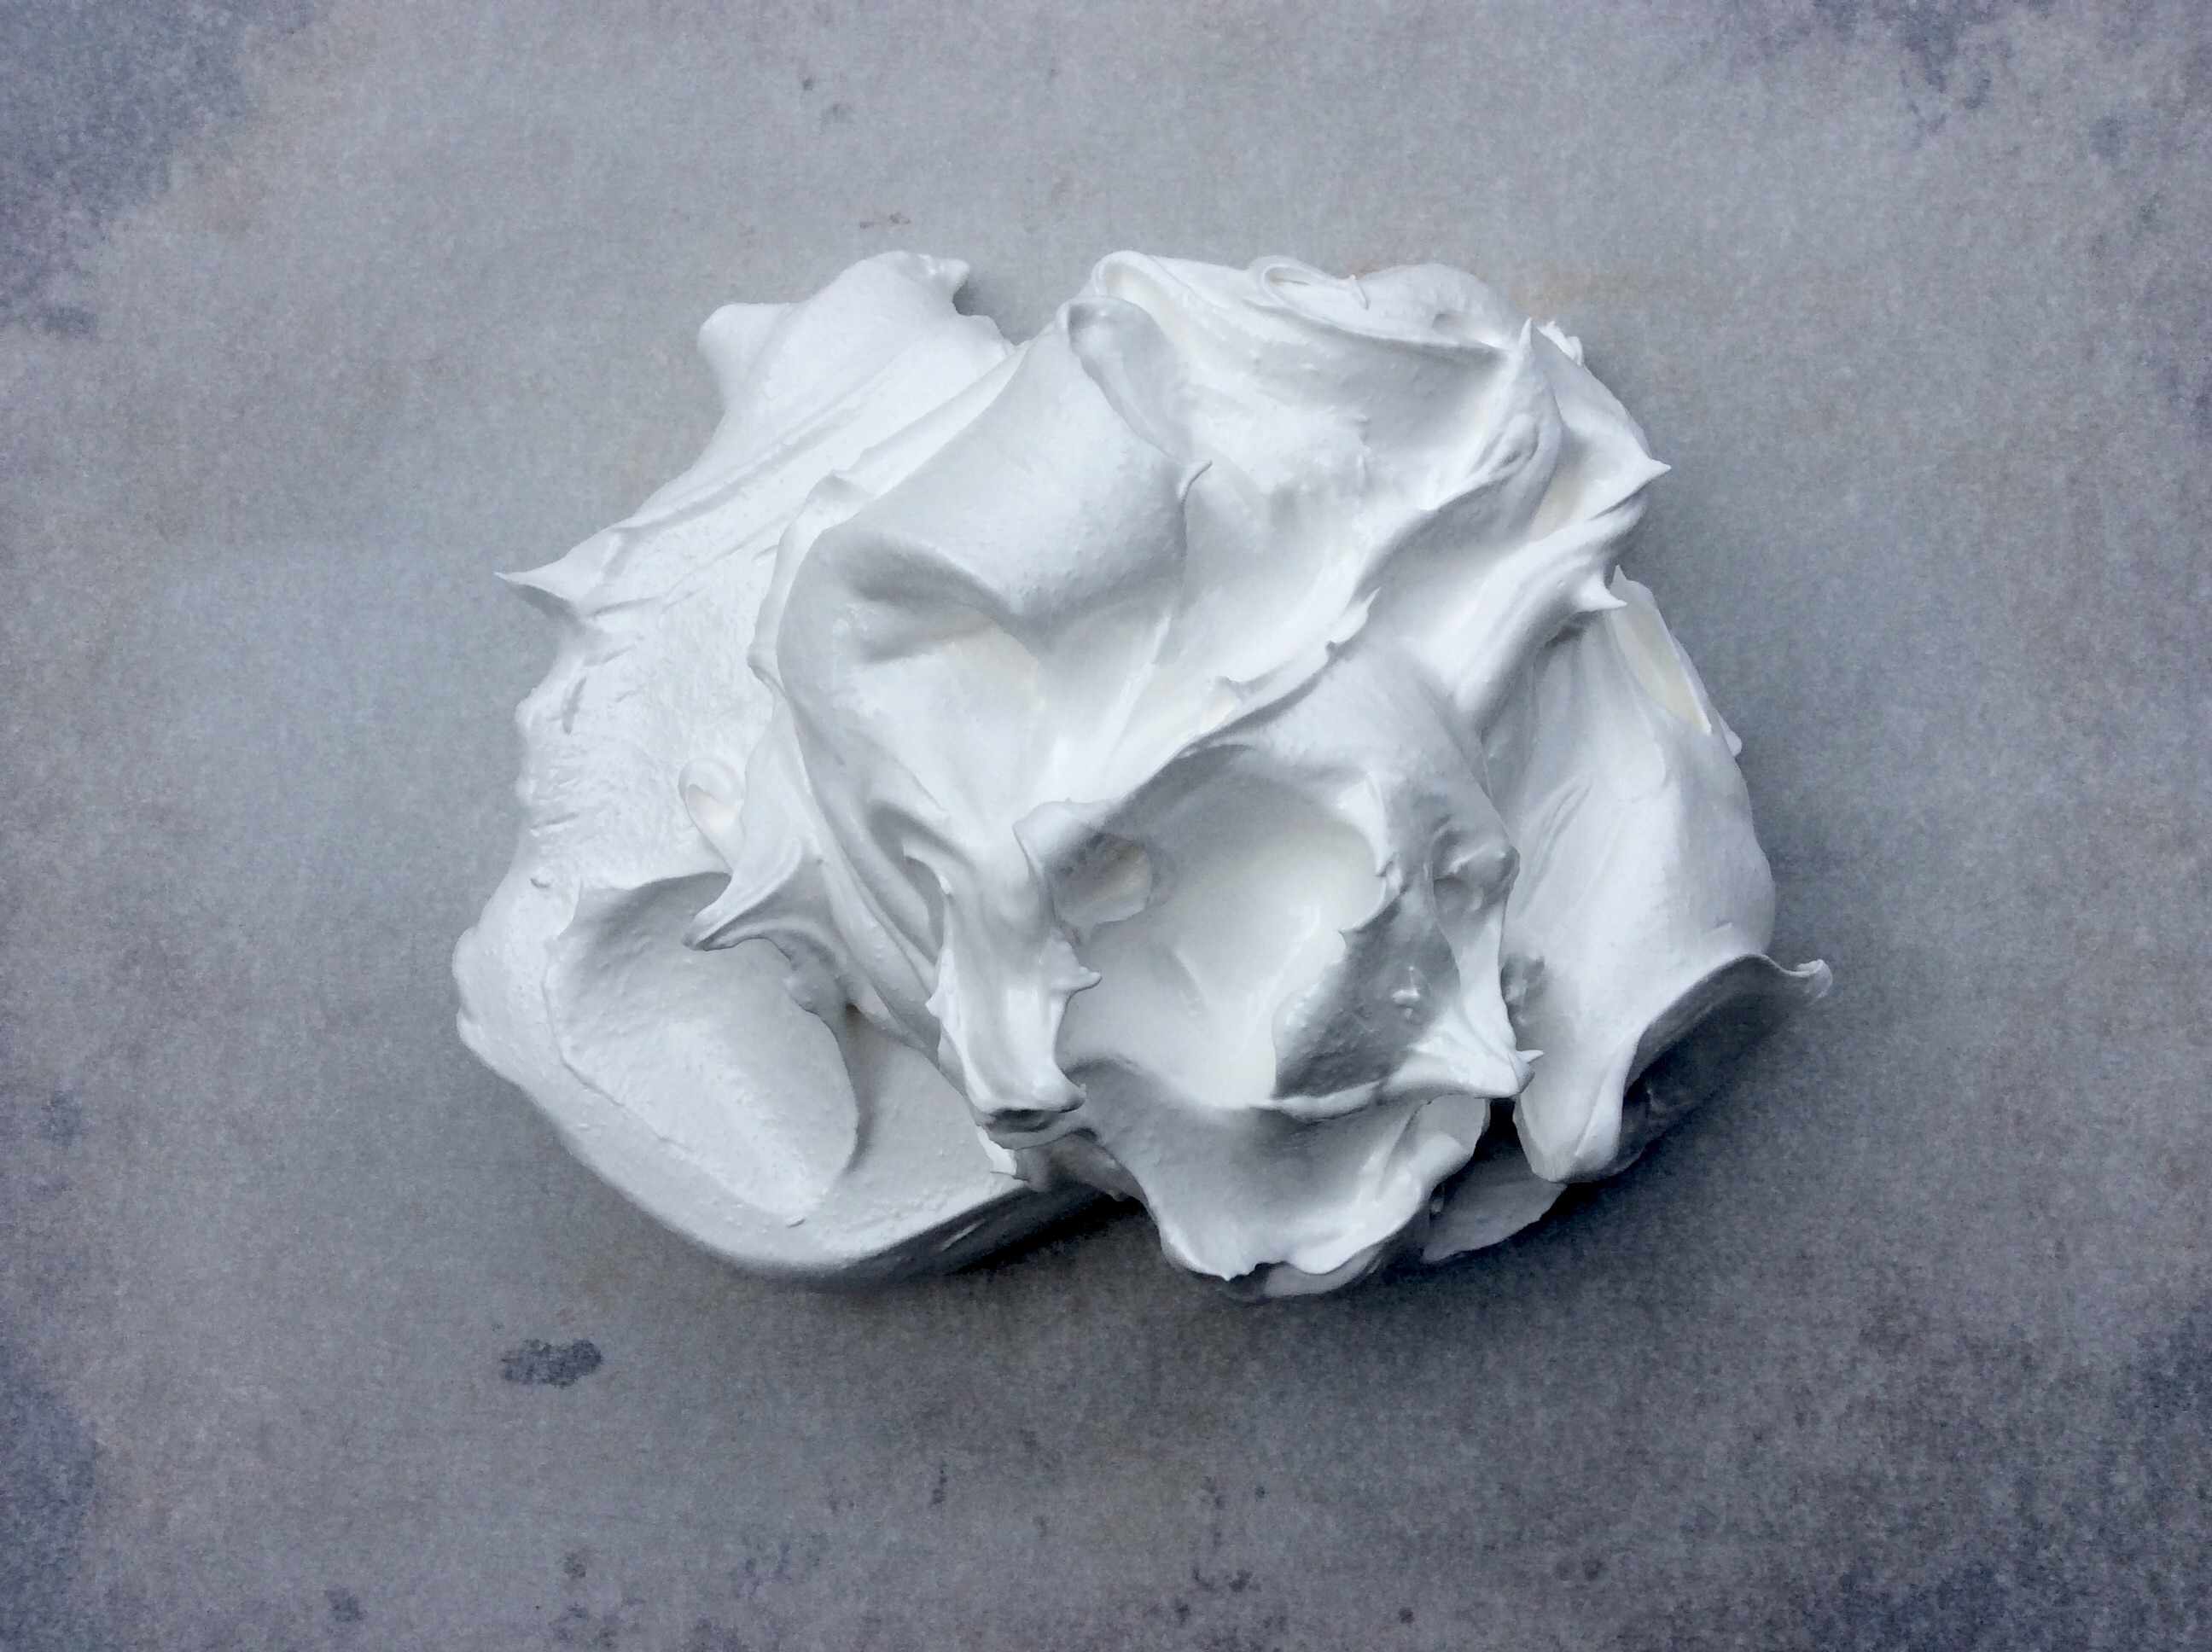
photo 3
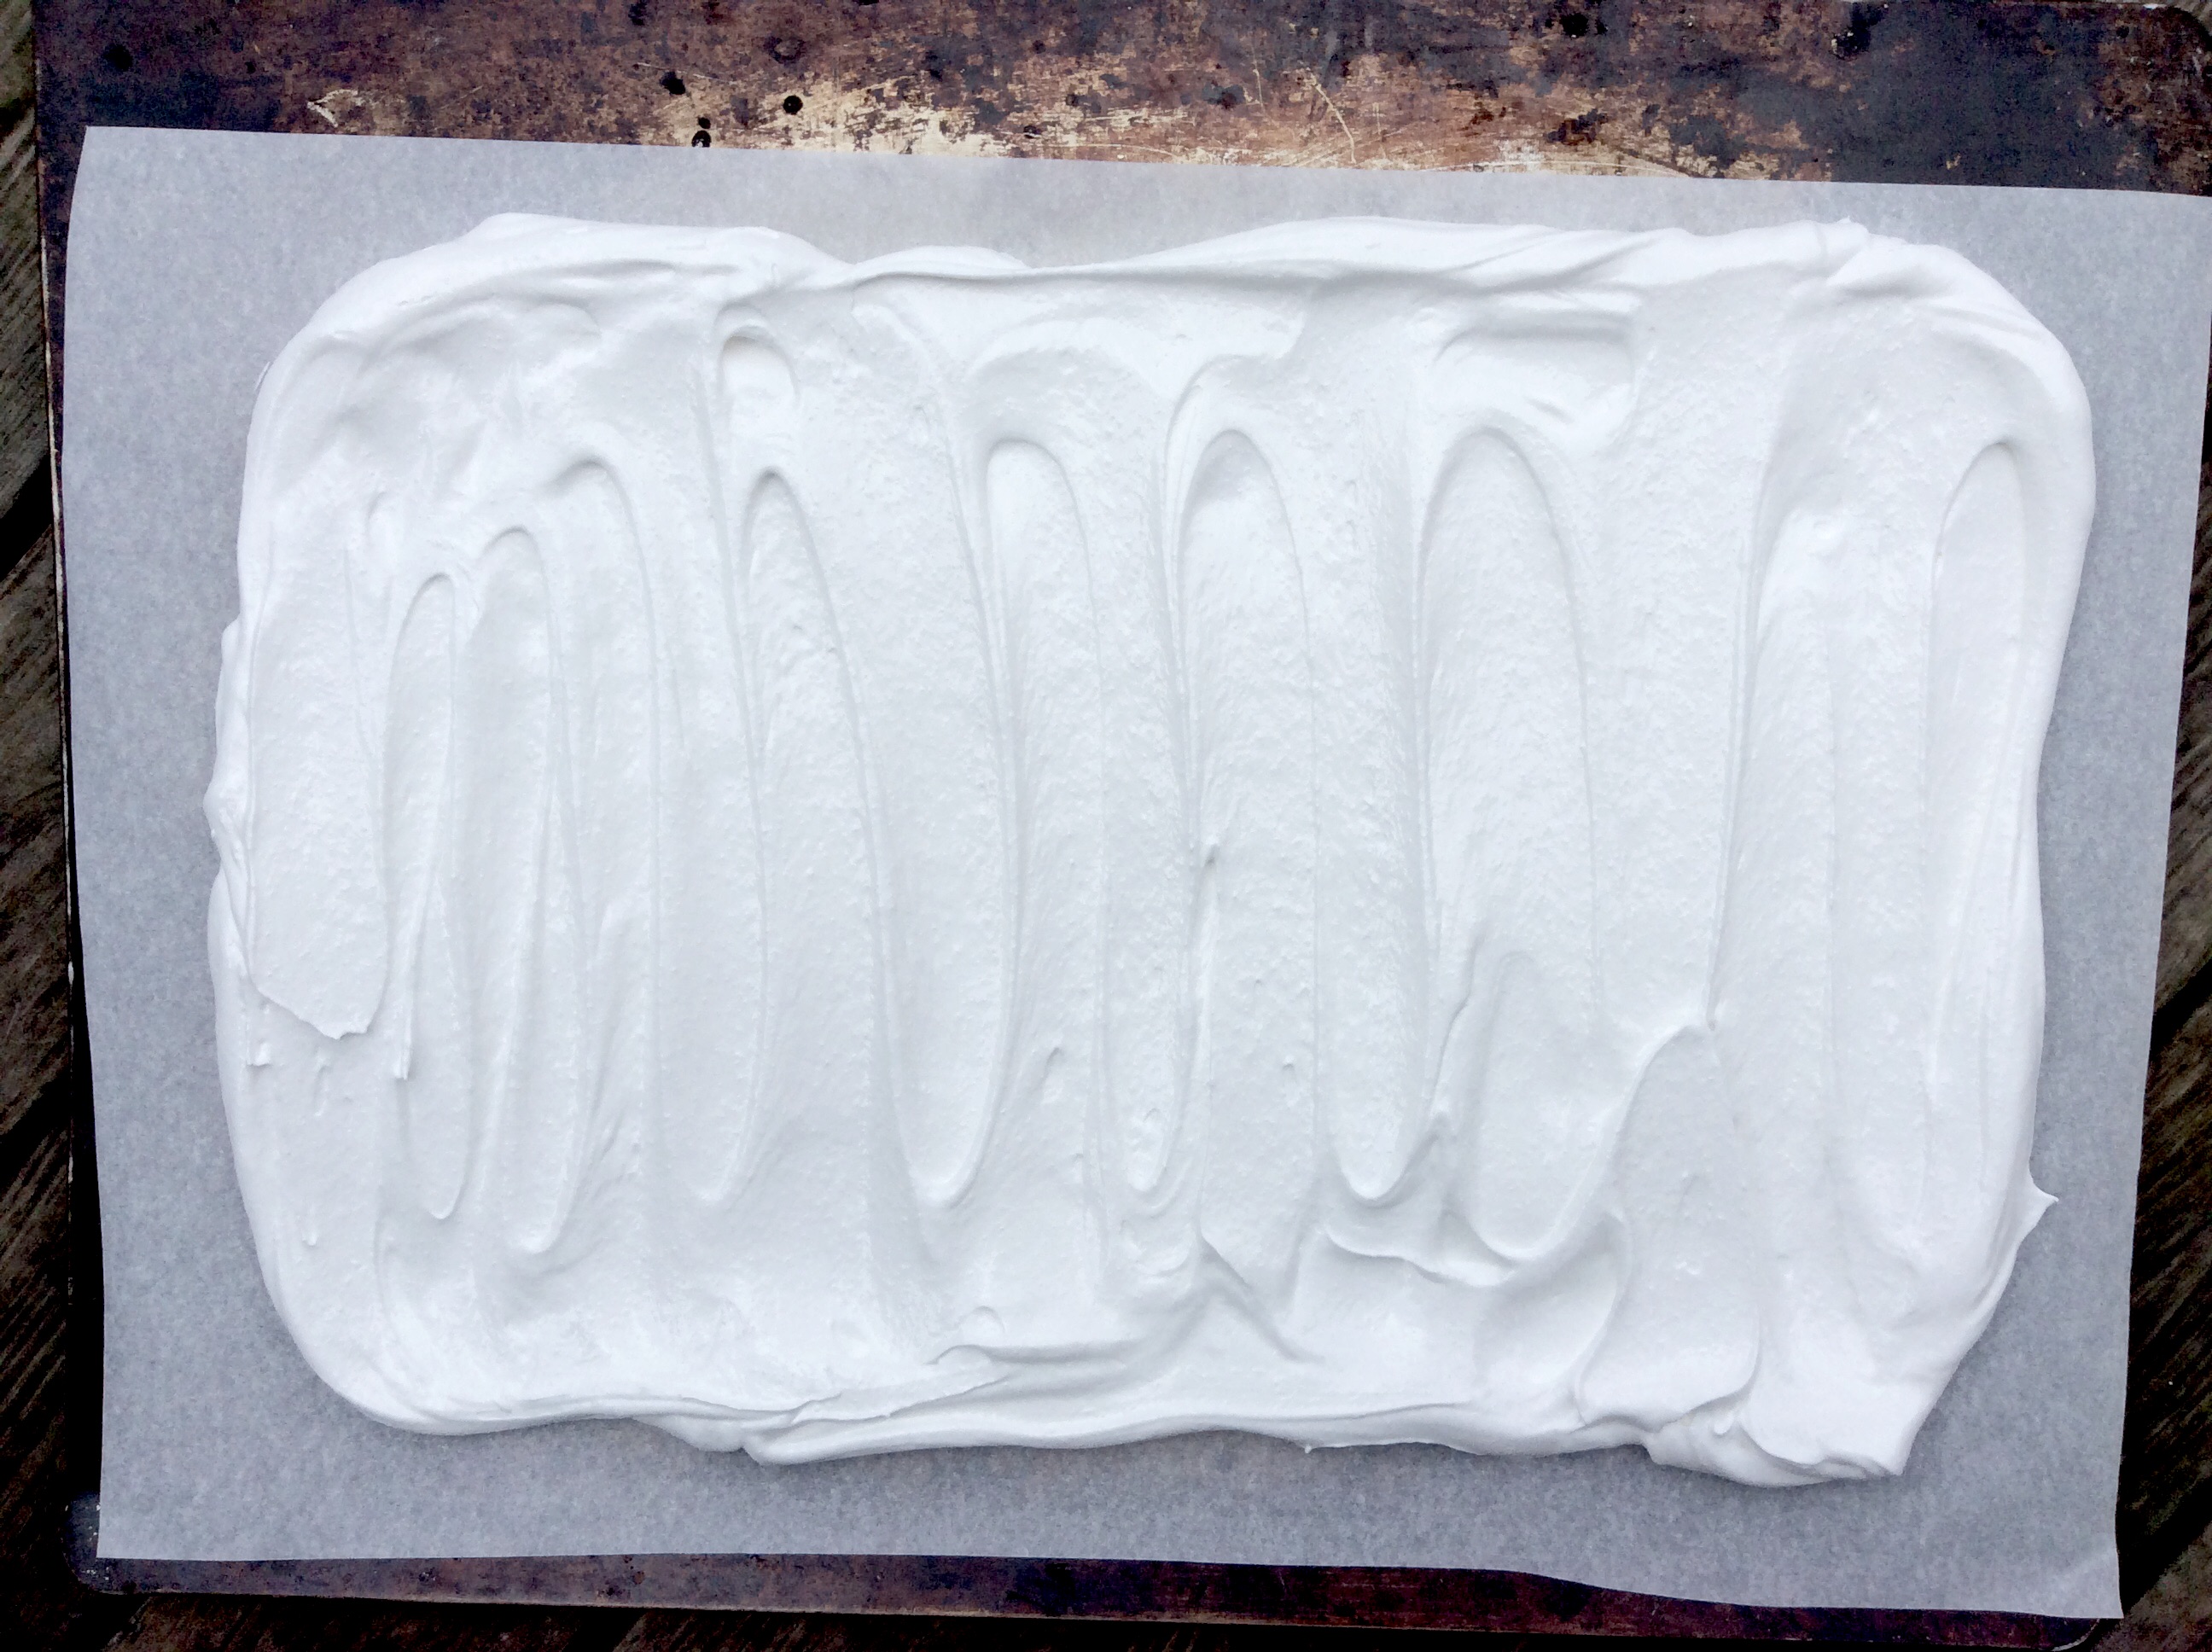
photo 4
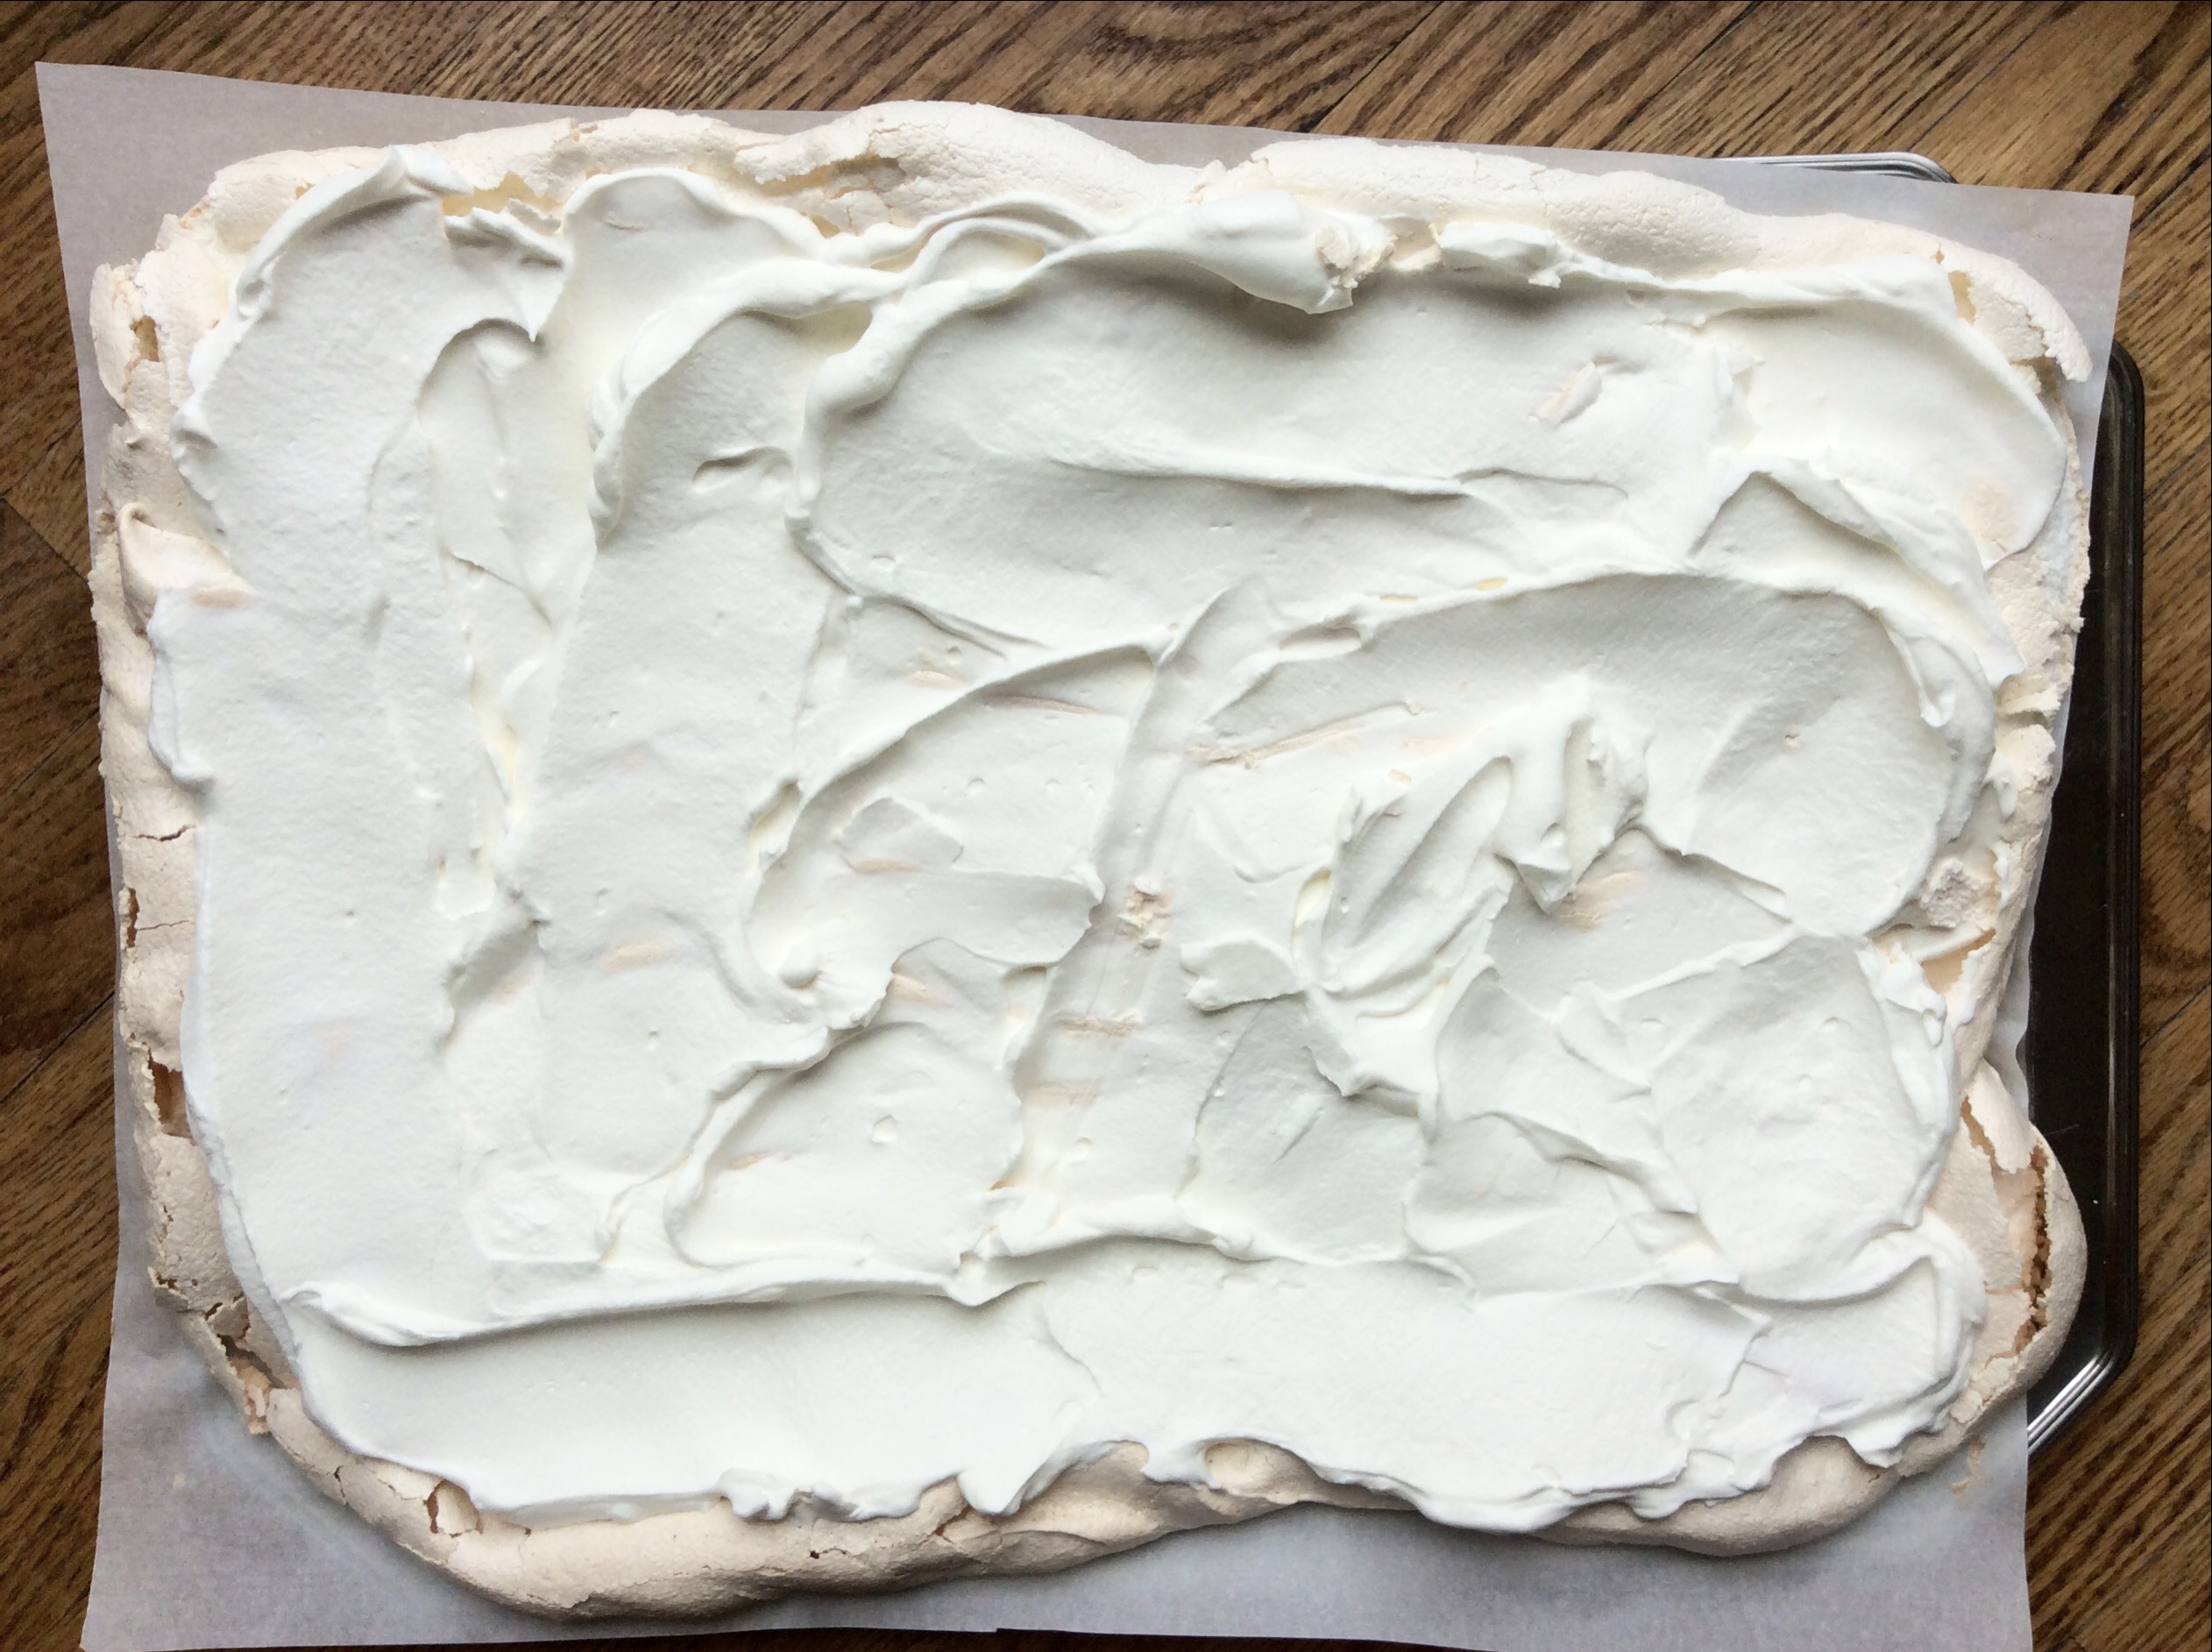
photo 5

photo 6
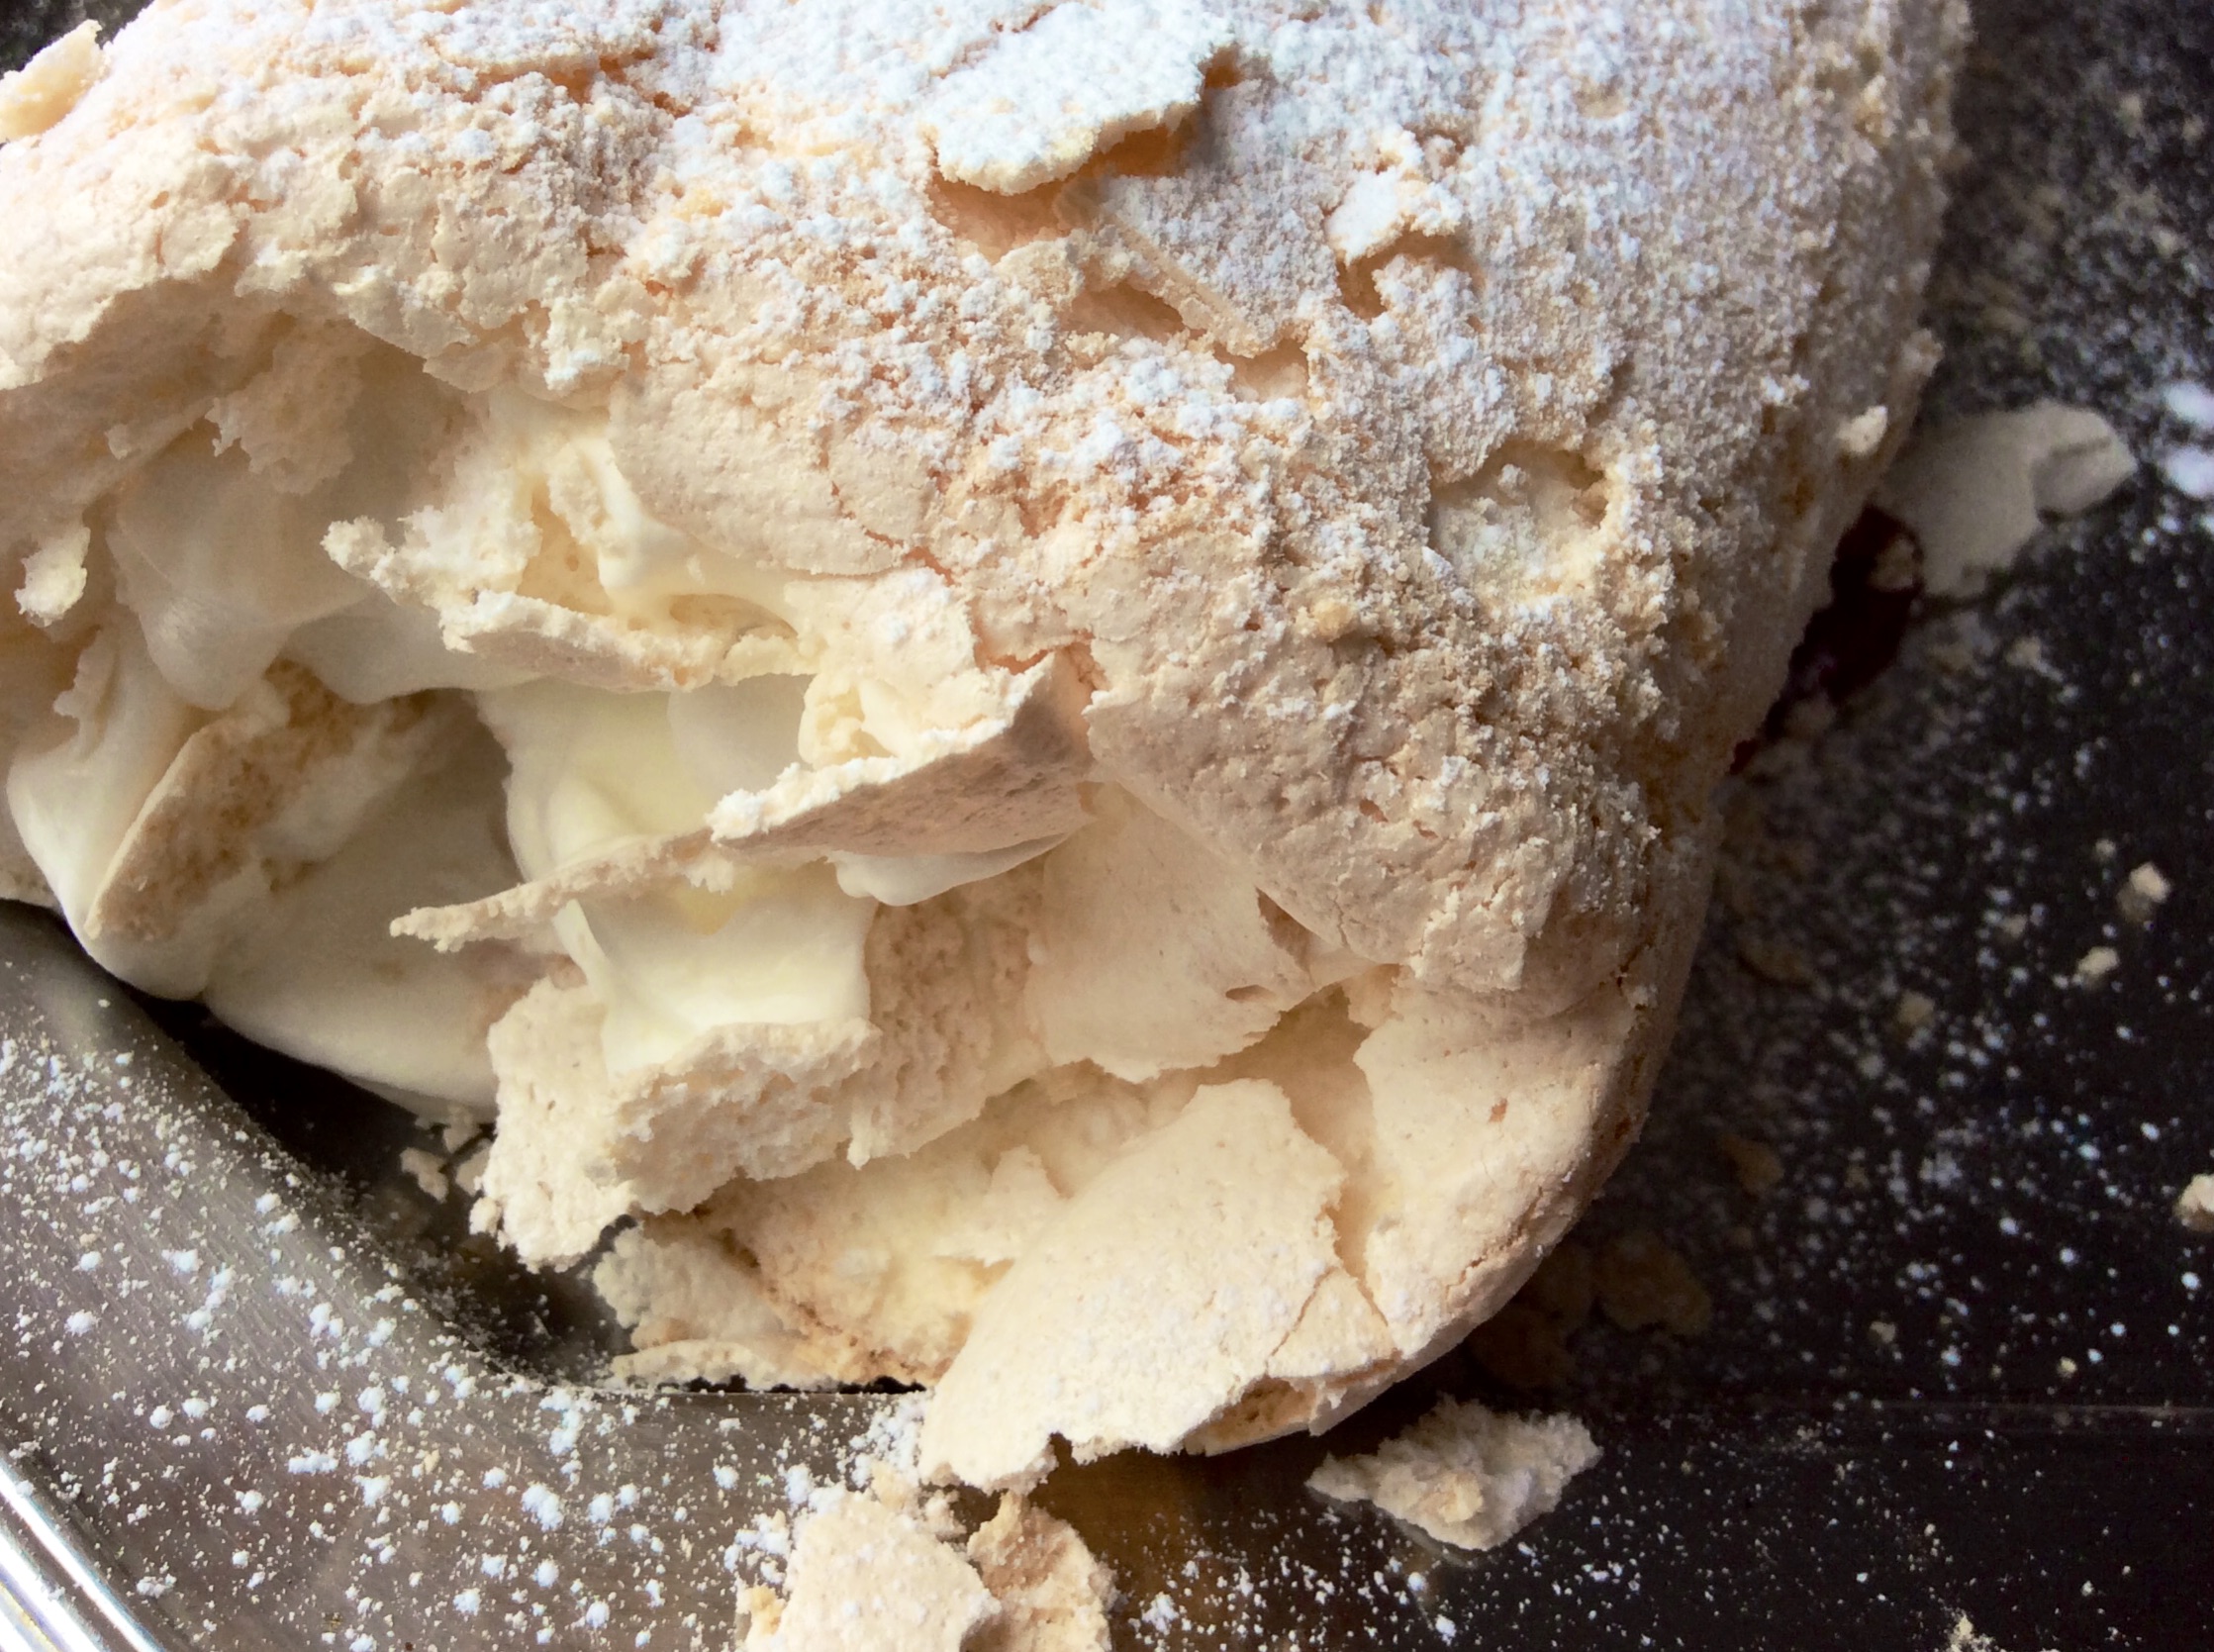
photo 7
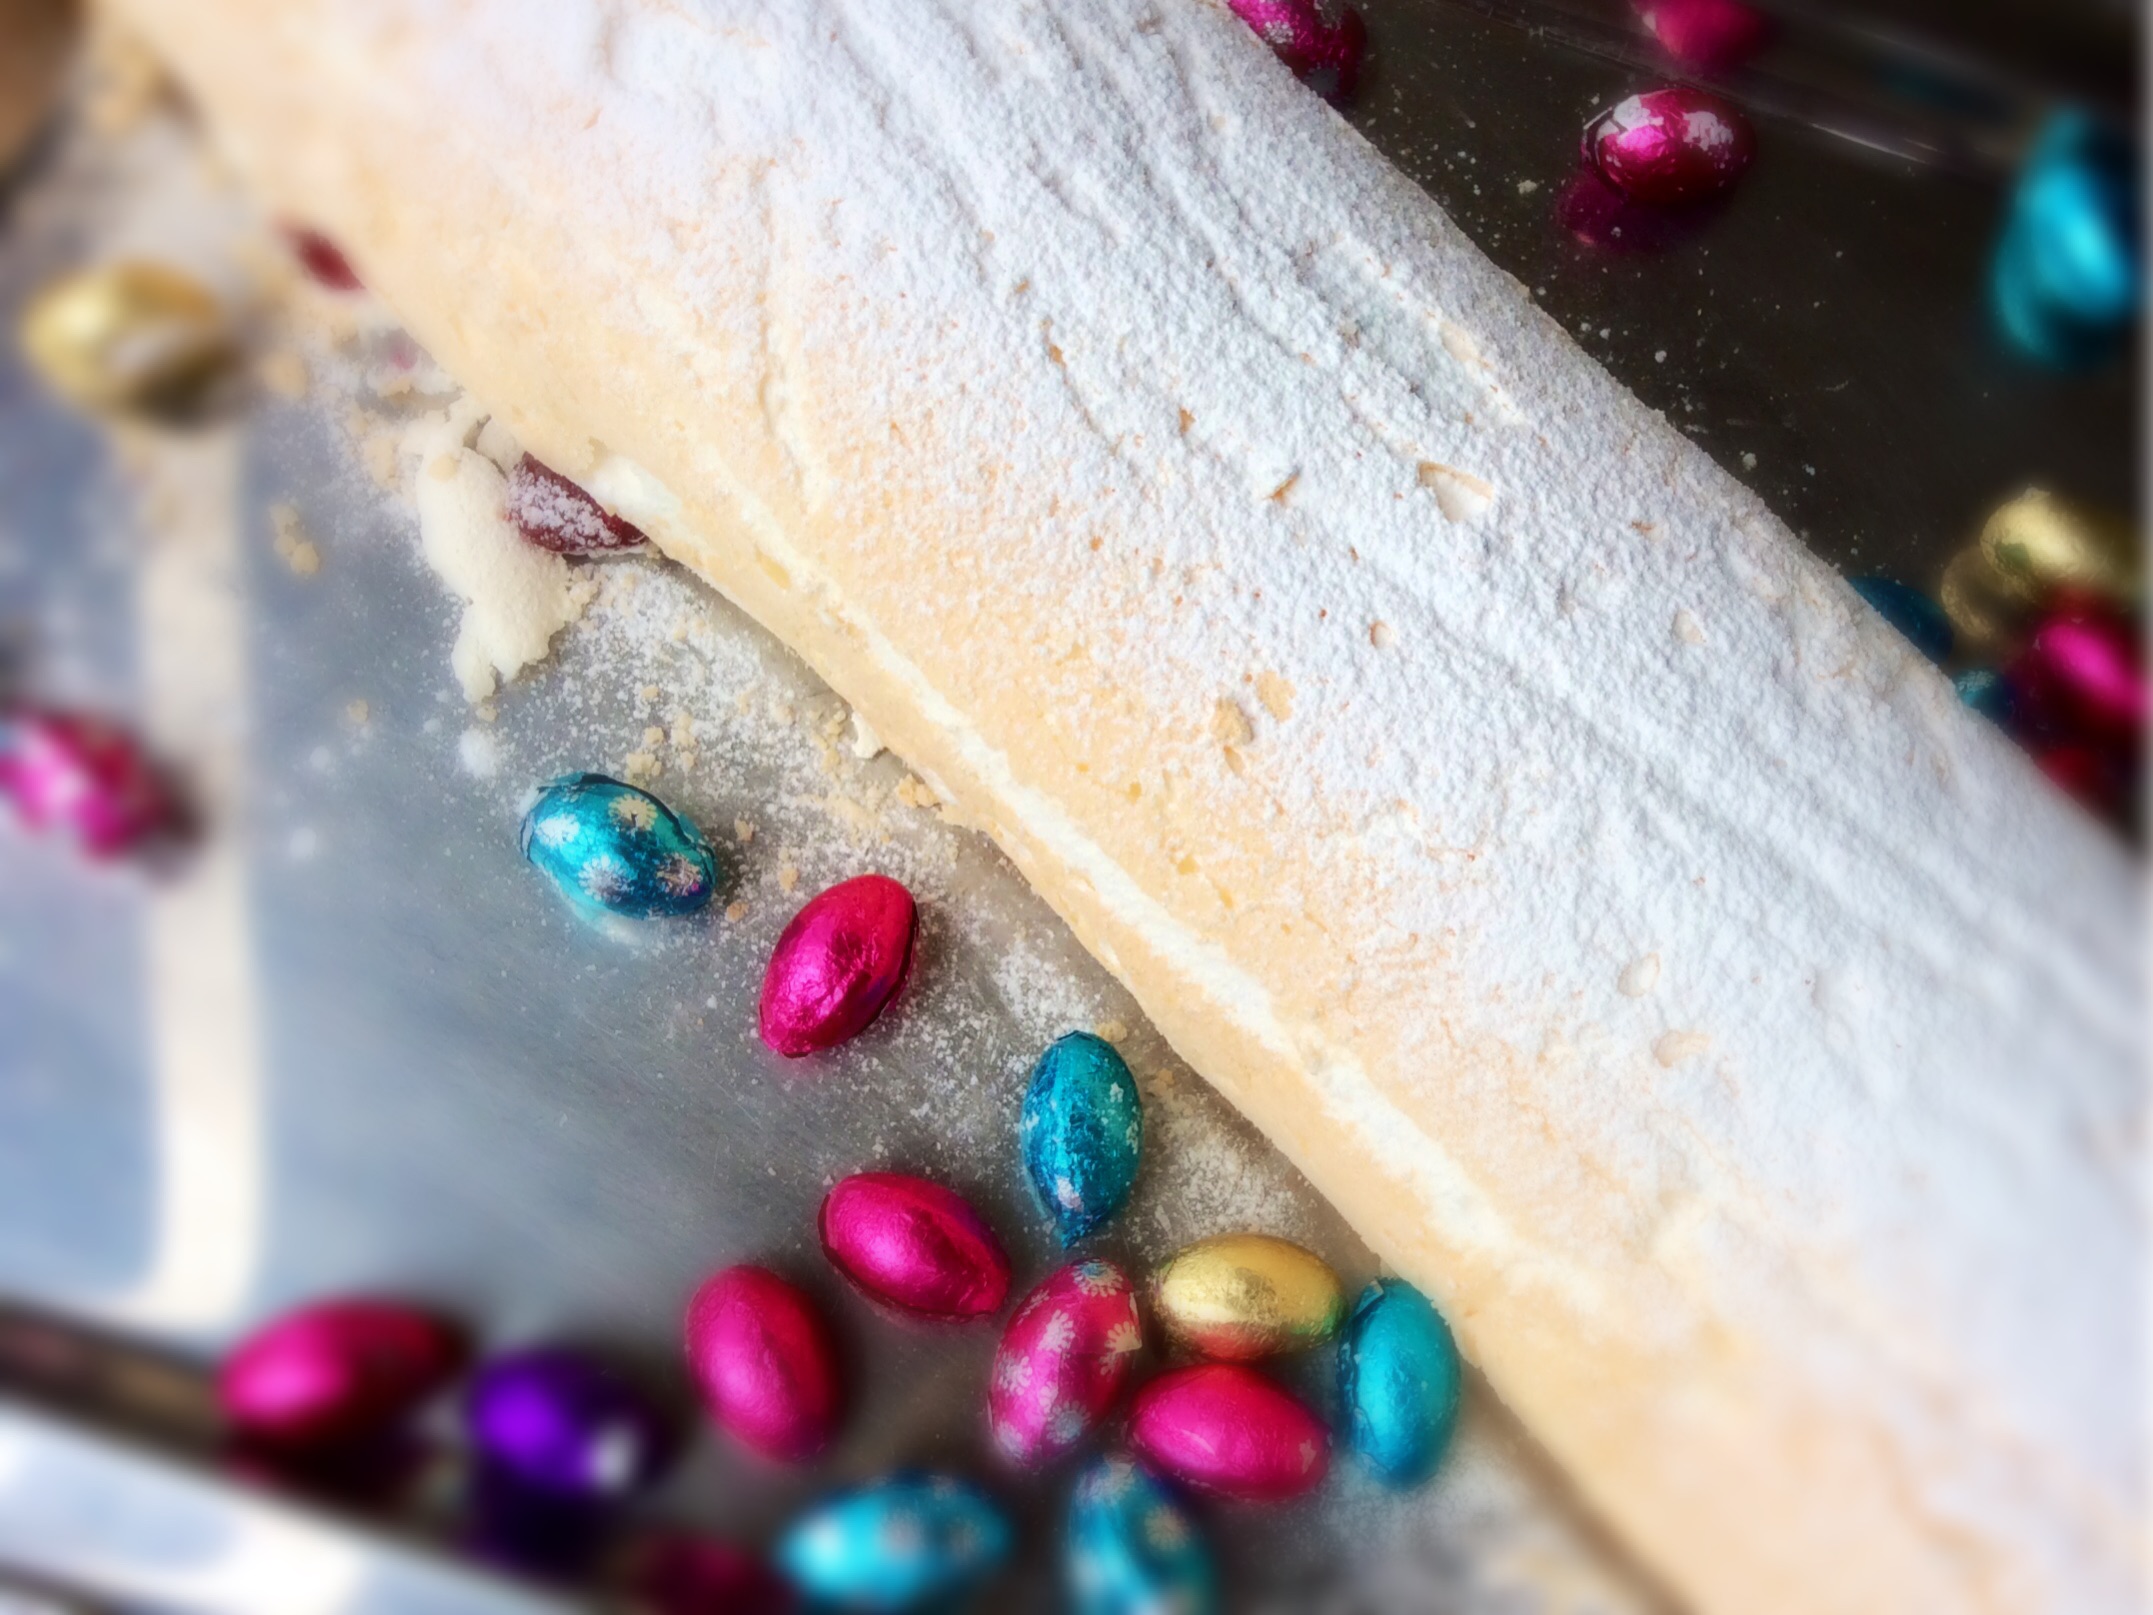
photo 8

photo 9